Accepting an Assignment
When you are a student in a GitHub Classroom you must accept an assignment before you can begin working on it. Once you accept the assignment you will create and get access to a unique GitHub repo based on the template repo. This documentation assumes that you have created a GitHub account and have downloaded & installed git.
- Paste the assignment link into your browser
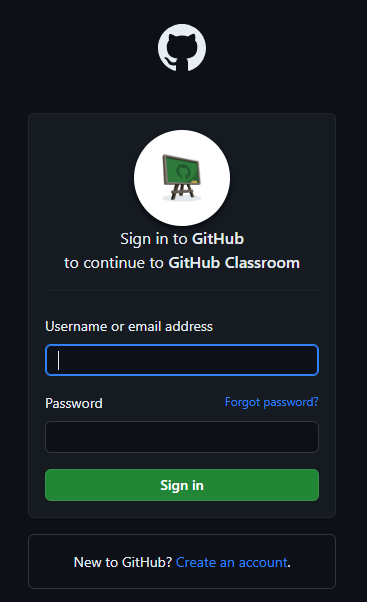
- You may be prompted to sign in

- Enter your credentials and click ‘Sign in’
- If this is your first time using GitHub Classroom, you may be prompted to authorize GitHub Classroom

- Click the ‘Authorize GitHub Classroom’ button
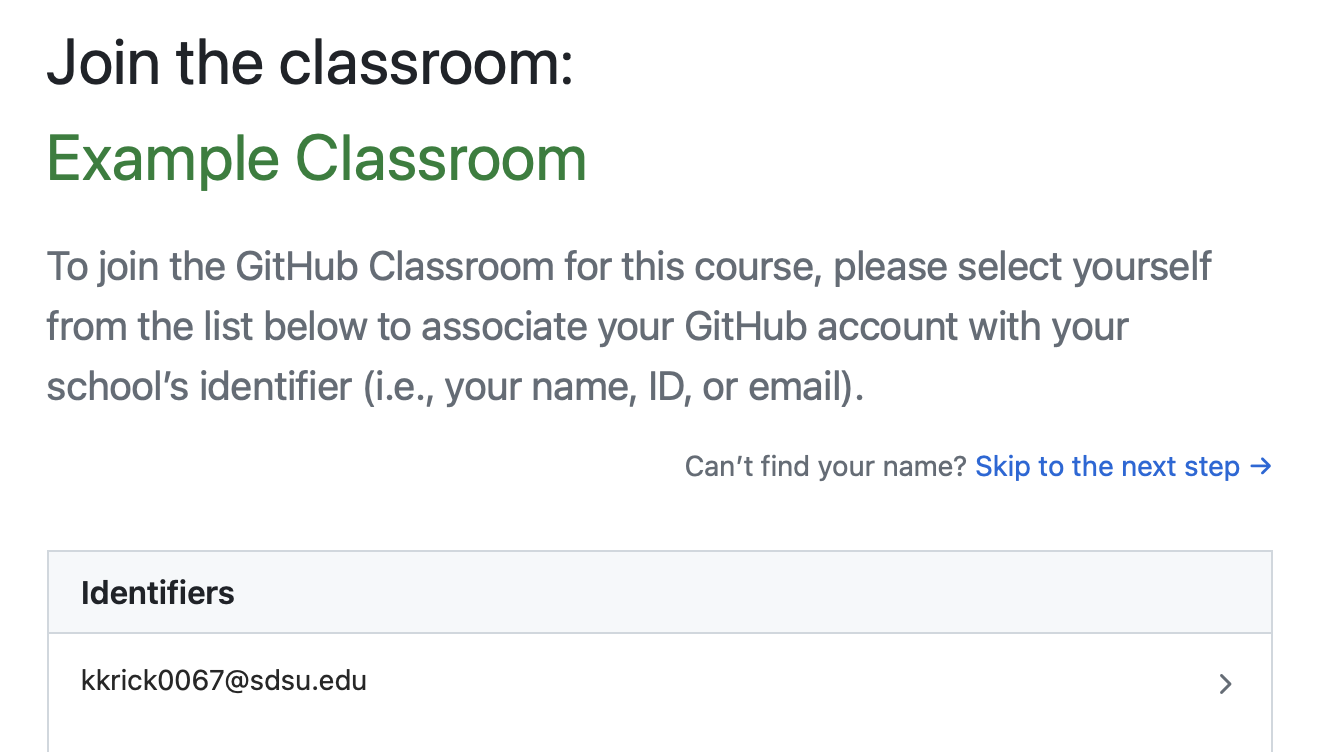
- If this is your first time accepting an assignment for a classroom, you may be prompted to associate your GitHub account to your SDSUid:

- Carefully select your SDSUid, if you click the wrong account please notify your professor so they can unlink the account
- You should then be able to accept the assignment:

- Click the “Accept this assignment” button
- You should then see this page or something similar:
- Click the link ‘https://github.com/sandiegostate/sample-assignment-[your-github-username]’ to view the repository
- You should see something similar to this

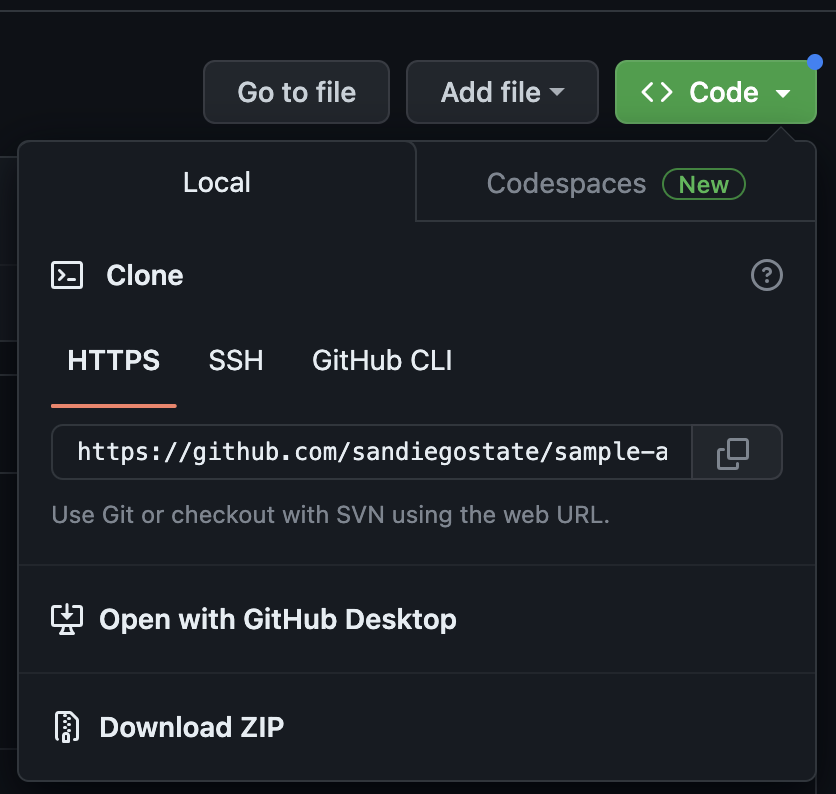
- Click the ‘Code’ button to choose how you would like to clone the repo

- Click the copy icon next to the URL to copy it
- You can now clone the repo with git from a terminal
- Note: replace the URL with the one that you copied for your assignment
git clone https://github.com/sandiegostate/sample-assignment-[your-user-name].git
Congratulations! You have accepted your assignment and now have a local copy of it which you can work on in your preferred text editor or IDE.
