Creating an Assignment
Once your GitHub Classroom has been created, you can start creating assignments. GitHub classroom supports both individual and group assignments as well as making the assignments viewable to other students or private between the student and teacher.
Assignments will be based on an existing GitHub repository, so you must create or find a repo to use for an assignment. In this example we will use the GitHub Classroom’s github-starter-course which is available on the sandiegostate GitHub Organization. Note that this repository is private, so you must first request access to GitHub Classroom.
We highly recommend using the github-starter-course assignment as it ensures students have a foundation for using Git and GitHub.
This documentation assumes that you have already created a GitHub Classroom.
Follow these steps to create your first assignment:
- If not already signed in, sign in to https://classroom.github.com/
- Click one of your available classrooms
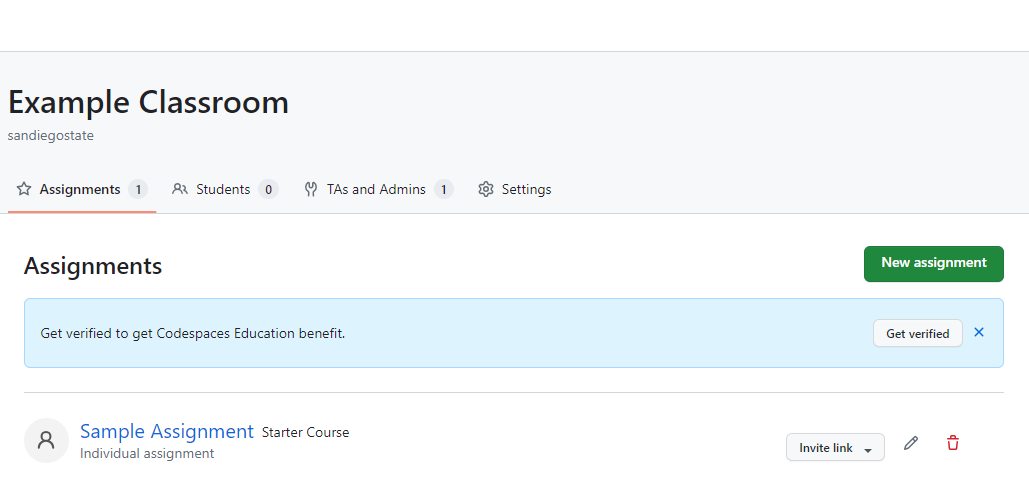
- If this is your first assignment for this classroom you will see the below:

- Click ‘Create an assignment’
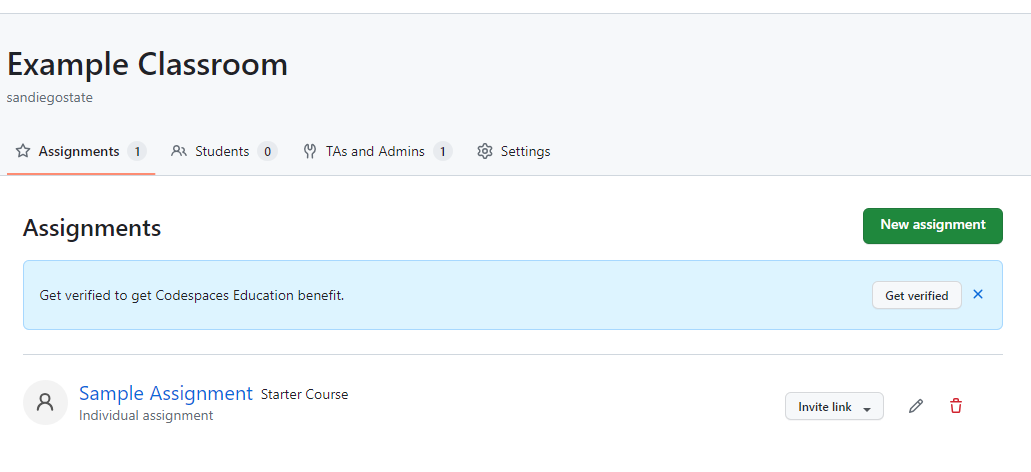
- If this is not the first assignment for the classroom, you may instead see the below:
- Click ‘New assignment’
- Fill out the form and then click ‘Contine’

- In this example we have chosen an individual assignment, no deadline and private repos so that each student can only see their own work
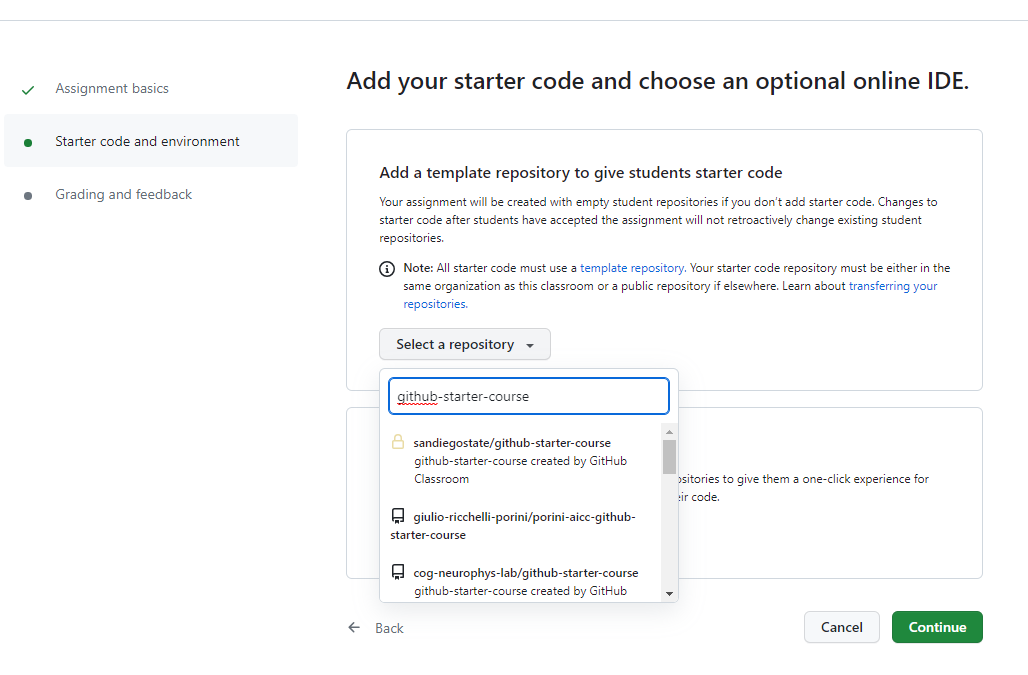
- From the following form, click the ‘Select a repository’ dropdown and paste in ‘github-starter-course’
- Select the ‘sandiegostate/github-starter-course’ option
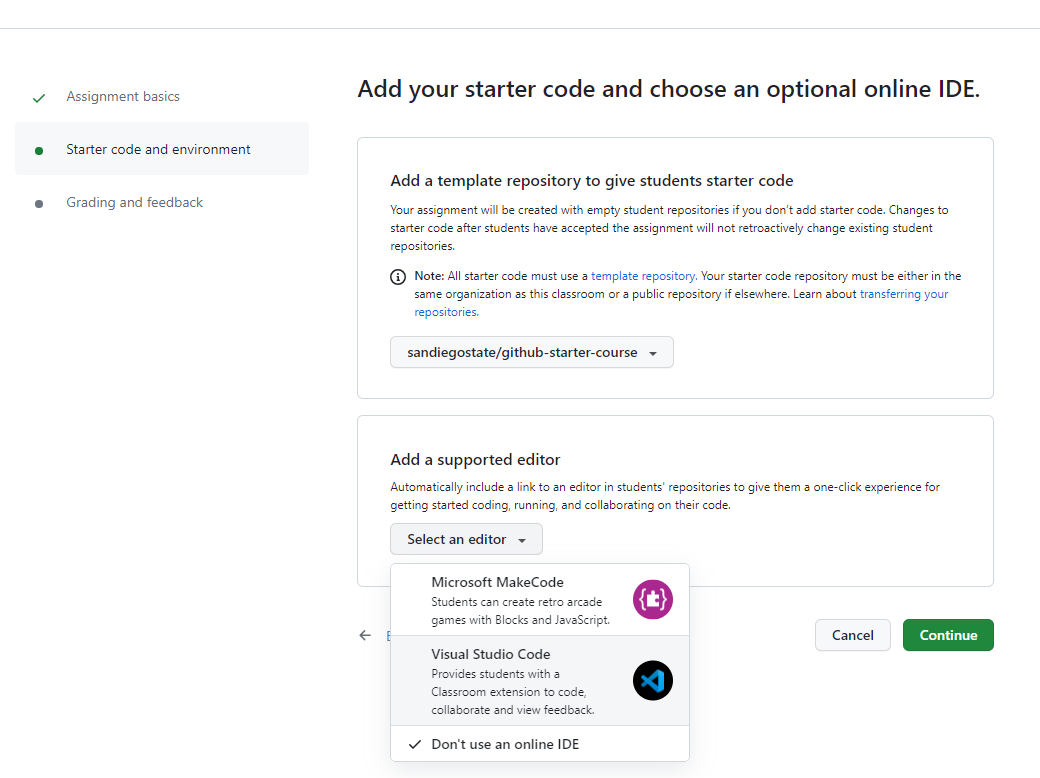
- Optionally, click the ‘Select an editor’ dropdown and choose ‘Visual Studio Code’
- Click ‘Continue’
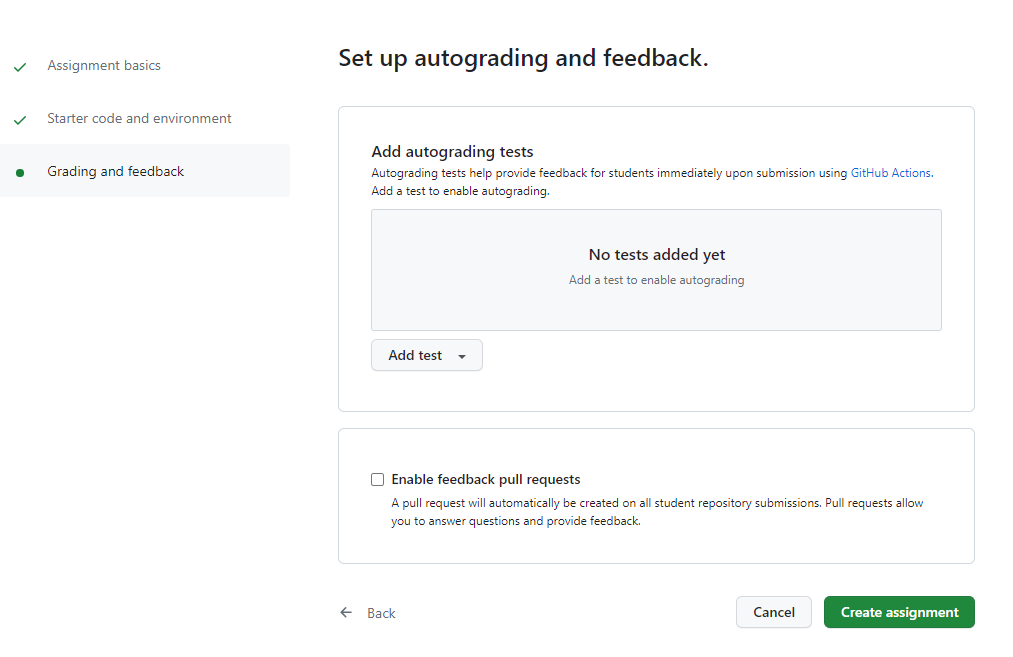
- We will not be using autograding on this example assignment, but feel free to explore the options. When done, click ‘Create assignment’
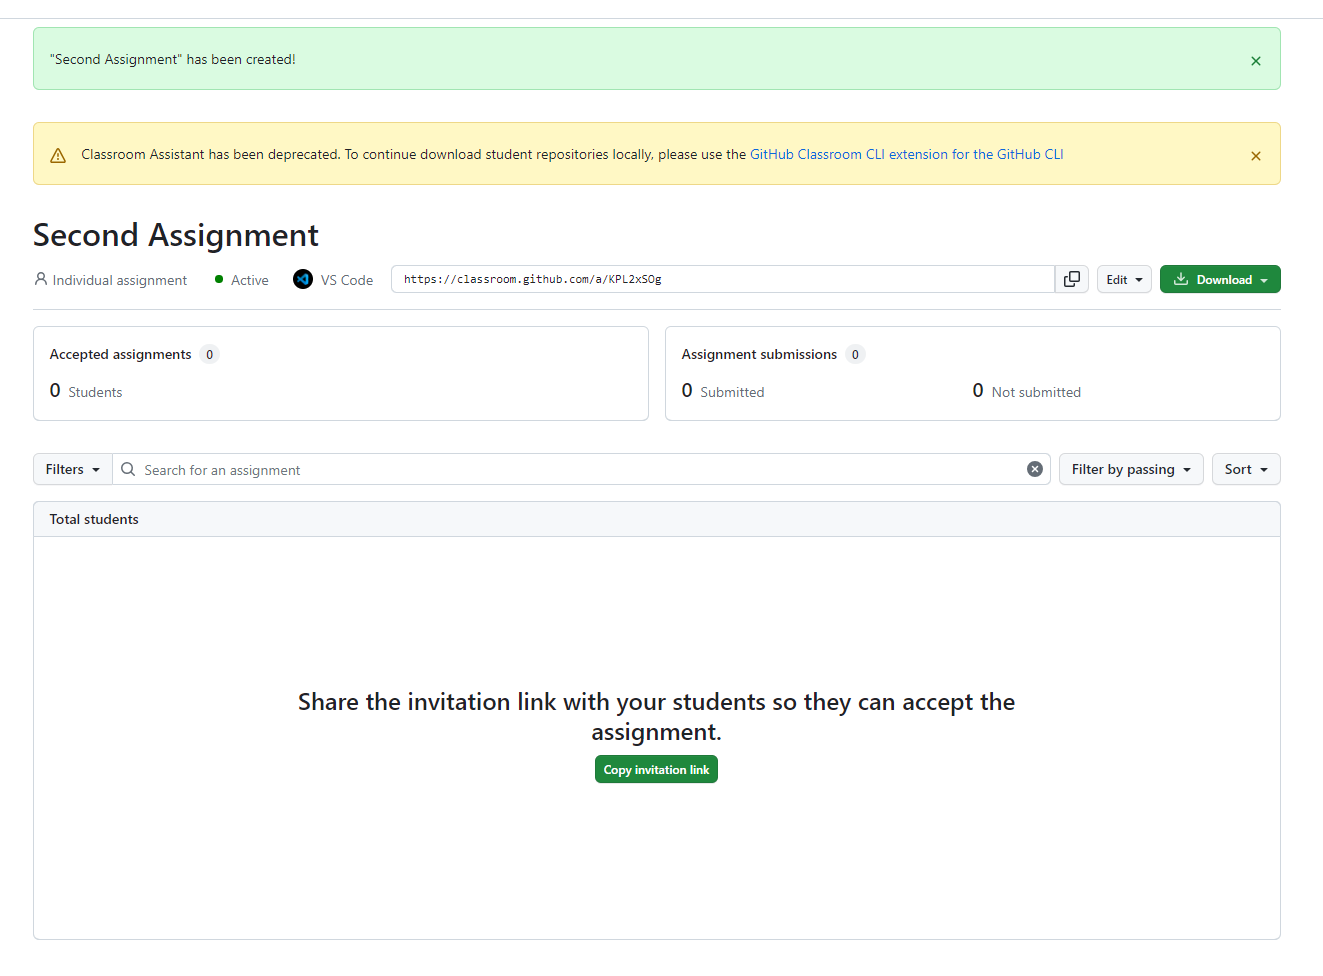
- You should see your assignment:
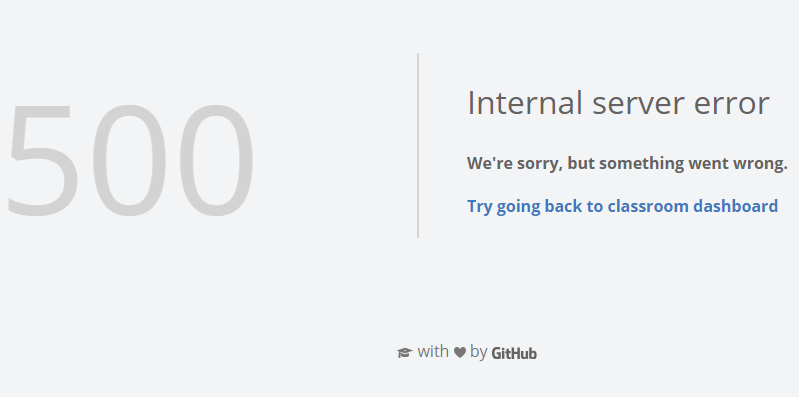
- If instead you run into this page, just click the ‘Try going back to classroom dashboard’ link
- Click on your classroom
- Click on your assignment
- If instead you run into this page, just click the ‘Try going back to classroom dashboard’ link
- Click ‘Got it’ on the pop-up
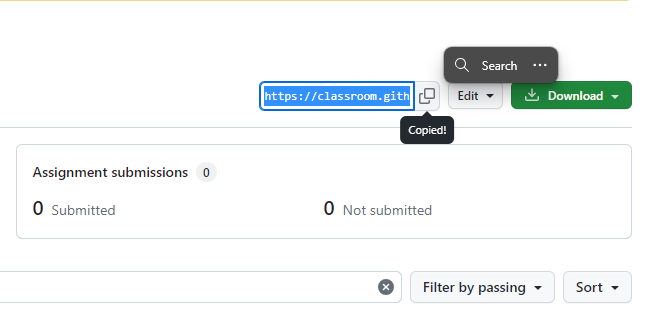
- Click the copy button to copy the assignment invitation URL
- You can now share this link with your students however you like (email, Canvas, etc.)
- Preview the assignment acceptance page by pasting the link in a new tab in your browser
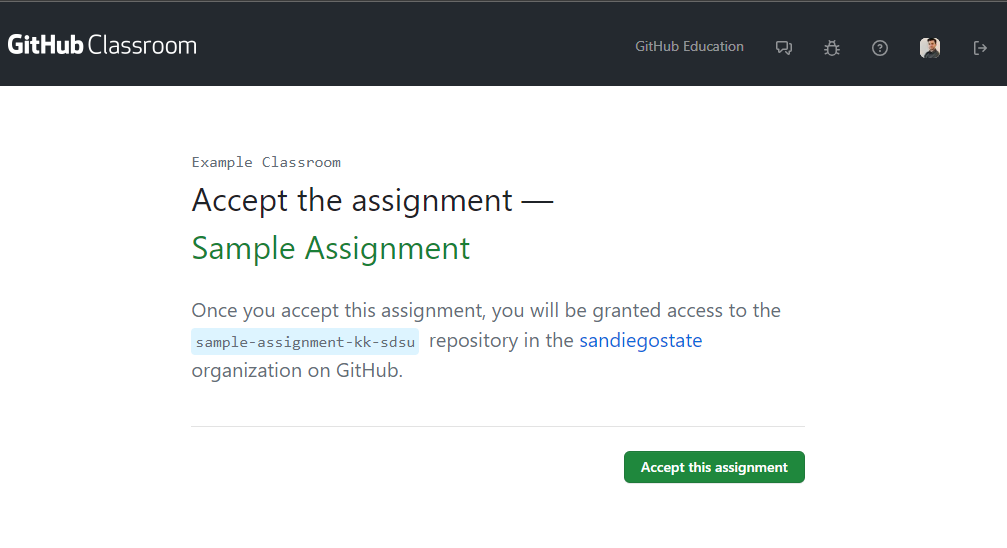
- Note: Students will be prompted to sign into or to create a GitHub account:
- Once students accept the assignment invite you will see them populate in the list:
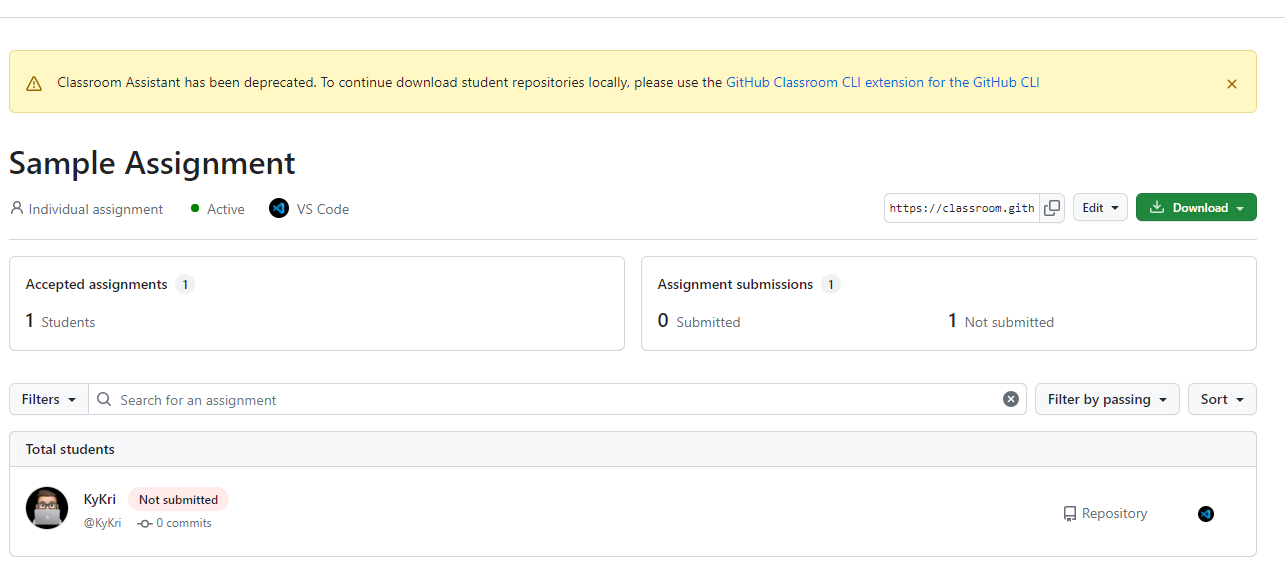
- Note that you can see the student’s progress at a high level with the status pill, in this case it is a red ‘Not submitted’ status and the commit count is 0
- Once a student submits their assignment, you can click the ‘Repository’ link next to their name to check their work:
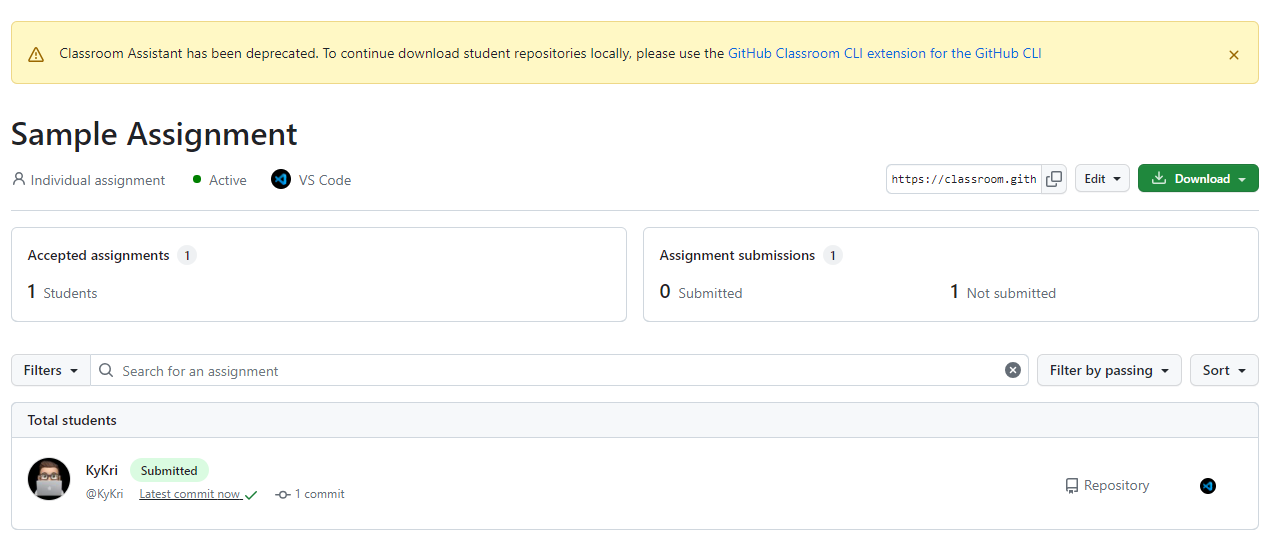
- Note that the status pill has changed to a green ‘Submitted’ status and that the commit count is now greater than 0